

Main keyword: jib crane load capacity
Wall-mounted jib cranes are compact, economical, and fantastic at point-of-use lifting—if you select the right capacity for your wall or column, your workflow, and your end-effectors. This guide walks you through how jib crane load capacity is established specifically for wall-mounted models, how wall structure changes what you can safely lift, and a step-by-step method to size the crane—without overspending or risking overloads.
Want the fundamentals first? Brush up on What Defines Jib Crane Load Capacity and Rated Limits.
Planning a purchase? See How Jib Crane Load Capacity Impacts Equipment Selection.
For day-to-day use, check What Affects Jib Crane Load Capacity During Operation.
Table of Contents
ToggleWhy “wall-mounted” changes the capacity conversation
Unlike freestanding jibs—where the concrete foundation and mast carry the bending moment—a wall- or column-mounted jib pushes that moment into the building structure. That means:
- The same boom length and nameplate rating can’t be assumed across buildings. Your real capacity is limited by the wall/column, connections, and bracing.
- Tension in the tie-rod (or cantilever brackets) and compression at the wall must be verified.
- Rotation range (typically ~180–200°) concentrates loads in a smaller arc than freestanding 360°, raising local demand.
In short: sizing a wall-mounted jib is a system problem—boom + brackets + fasteners + wall/column. Your goal is to choose a jib crane load capacity that the building can safely sustain with the reach you need.
Typical capacity ranges for wall-mounted jibs
While every manufacturer has its own line-up, wall-mounted units commonly land here:
- Light duty: 250 kg–1 t, booms 2–4 m
- Medium duty: 1–2 t, booms 3–5 m
- Upper end (with proven structure): up to ~5 t with engineered supports and limited reach
If your application needs >5 t or long reaches (>6 m), you’ll usually move to a mast/freestanding design or add engineered reinforcement/frames to the building steel.
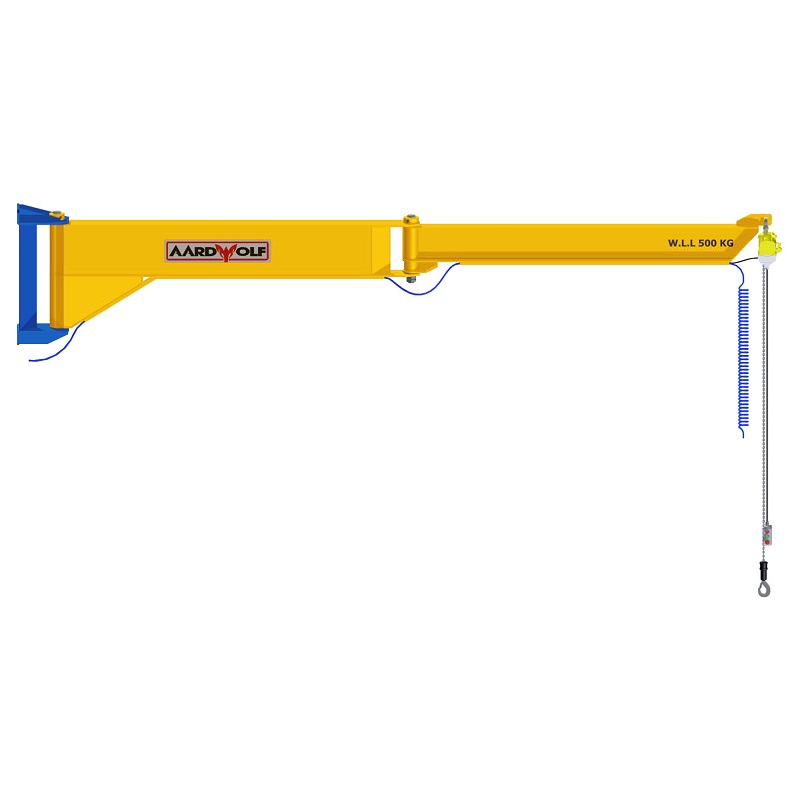
Exploring options? Compare specs with the Articulated Jib Crane – Wall Mounted and browse more crane products.
The five variables that set capacity for wall-mounted jibs
1) Boom length (reach) and hook radius
The bending moment at the support climbs linearly with radius. If you double the radius, you double the moment for the same hook load. Many wall-mounted models de-rate capacity as radius increases—check the load chart, not just the nameplate.
Rule of thumb: If your workflow allows it, shorten the reach and re-stage materials so most picks happen closer to the mounting point. You recover margin without spending more.
2) Base wall or column capacity
Capacity lives or dies on what you bolt to:
- Reinforced concrete walls: need verified thickness, compressive strength, and anchor embedment.
- Steel building columns: require a structural check for local flange/web stresses, torsion, and bracing.
- Masonry: generally needs through-bolting and backing steel—avoid anchors in block cells without engineering.
Action: Involve a structural engineer early. Provide crane reactions from the manufacturer (horizontal pull, vertical shear, overturning moment) for the exact boom length and capacity you’re targeting.
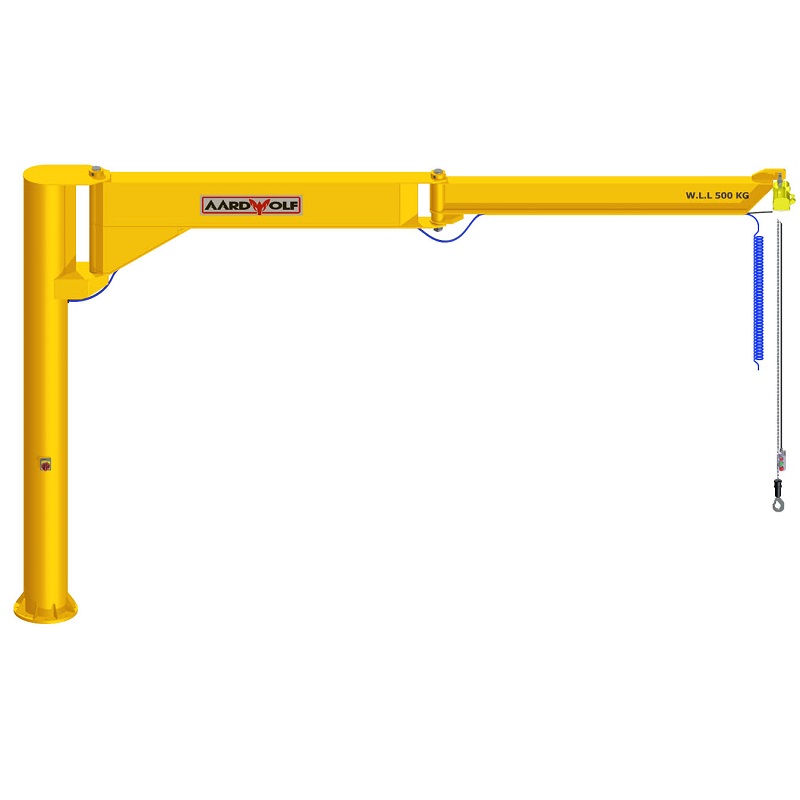
3) Mounting style: tie-rod vs. full cantilever vs. articulating
- Tie-rod supported booms are efficient for longer reaches with moderate capacities but demand a robust upper attachment.
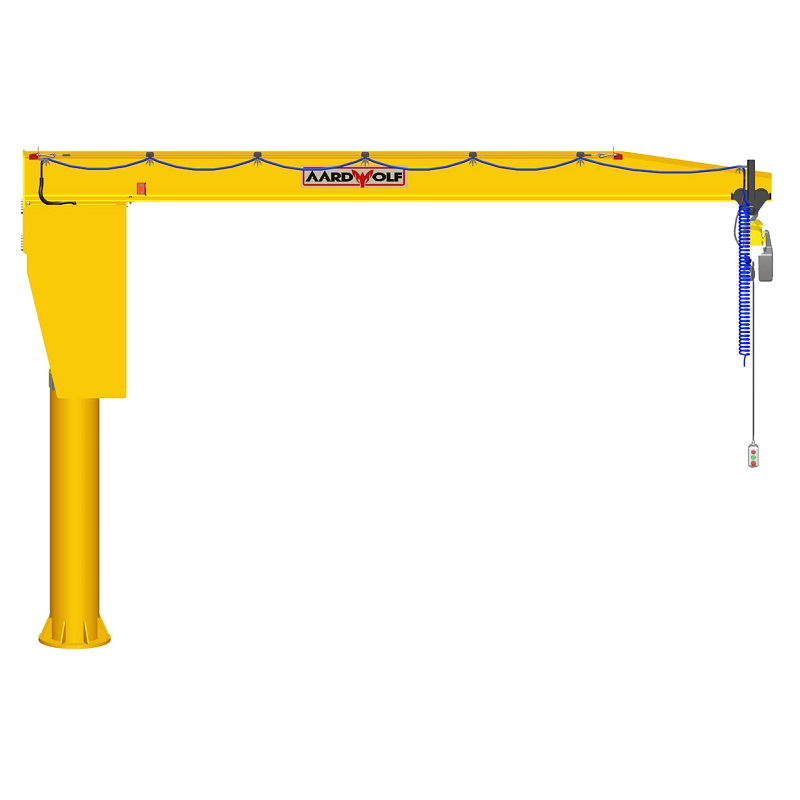
- Cantilever (full-bracket) designs simplify installation and clearance but typically offer shorter reaches or lower capacities for the same wall.
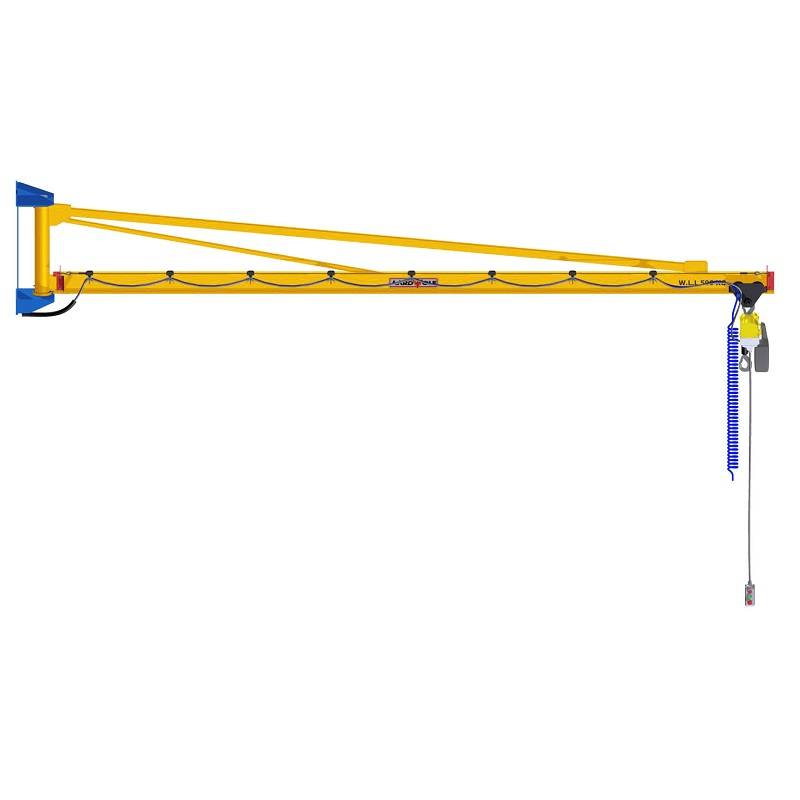
- Articulated jibs split the arm into two pivoting sections, reducing required swing clearance and improving fine placement, especially in tight shops and around benches.
Tip: Where loads are fragile or must be threaded into tight spaces (think countertops or precision fab), an articulated wall-mount can allow smaller radius, smoother handling, and safer effective capacity.
4) Duty cycle and dynamic loading
The more frequent (and faster) the lifts, the more dynamic forces chew into the margin. Hoist class, brake thermal limits, and bearing life must match reality.
- Two-speed or VFD hoists cut shock loads by smoothing starts/stops.
- Keep swings short; avoid side pulls.
5) End-effectors and rigging weight
Nameplate capacity is not what your payload “gets.” Subtract everything below the hook—slings, shackles, beams, clamps, vacuum heads—to find usable capacity.
- For stone shops, low-mass, high-grip tooling preserves margin. Pair your jib with workflow-specific accessories and best practices for countertop installation and stone transport to stabilize center of gravity and minimize swing.
How to select the right jib crane load capacity for a wall-mounted model (step-by-step)
Step 1 — Define your worst-case lift
- Heaviest payload you’ll handle in the next 3–5 years
- Rigging + end-effector weight (weigh kits and tag them)
- Required hook radius where the lift must occur
- Lift frequency (cycles/shift) and typical hoist speed
Effective payload = Nameplate capacity – (rigging + end-effector) at the actual radius.
Step 2 — Choose the shortest practical boom
If your load path can be re-staged so picks happen within 2.5–3.5 m of the column, you can often reduce boom length and/or capacity requirement, or keep more safety margin with the same capacity.
Step 3 — Match mounting style to clearance and accuracy
- Tight benches, machines, and doorways → consider articulated wall jibs.
- Straight, open approaches → tie-rod or cantilever.
Step 4 — Check the building
Request support reactions at your target capacity and reach from the crane supplier. Hand these to your structural engineer to confirm:
- Column capacity and bracing (or wall thickness/strength)
- Fastener/anchor type, size, spacing, embedment
- Need for doubler plates, backer steel, or added knee-bracing
Step 5 — Select hoist and controls for smoothness
- Two-speed or VFD hoist and trolley reduce peak forces and wear.
- Radio controls keep operators out of the load path and encourage vertical picks.
Step 6 — Apply a realistic utilization factor
If your average lift is 60–70% of nameplate and you’re cycling often, step up one capacity tier or slow the hoist/trolley to protect brakes and gearboxes.
Step 7 — Lock in operational guardrails
- Post the radius-based chart at the bay.
- Tag rigging kits with actual weights.
- Train on vertical lifts and “no side-pulls.”
Worked examples (what fits where)
Example A: Stone shop—benchtop handling
- Payload (finished slab section): 350 kg
- Rigging (clamp + shackles): 25 kg
- Needed radius (at the saw and bench): 3.2 m
- Frequency: High (every few minutes)
Recommendation: Wall-mounted 500 kg articulated jib with ~3.5 m reach, two-speed hoist, radio control. Building steel verified and stiffened. This preserves margin for dynamic effects and rigging, while articulation eases alignment for countertop installation tasks.
Example B: Assembly cell—motor fit-out
- Payload: 850 kg gearbox
- Rigging/spreader: 60 kg
- Radius: 2.7 m
- Frequency: Moderate (hourly)
Recommendation: Tie-rod wall jib 1 t capacity at 3 m reach, two-speed hoist. Building column checked for torsion; add doublers. Nameplate leaves ~90 kg margin over rigging at that radius, adequate for moderate cycles.
Example C: Warehouse dock—occasional tooling swap
- Payload: 1,300 kg
- Rigging: 80 kg
- Radius: 4.5 m
- Frequency: Low
Recommendation: Engineer the wall/column first. Many wall-mounts at 4.5–5 m reach will de-rate below 1.25 t. If the structure can’t support reactions economically, shift to a mast or freestanding jib—or shorten reach and re-stage loads.
Operational realities that change capacity during the day
Wall-mounted cranes are sensitive to how they’re used:
- Long-reach slewing with fast stops: raises moment spikes—slow down and keep paths clear.
- Thermal limits on hoists/brakes: high cycle counts can cause drift or weak braking; address duty class or cycle rate.
- Environmental effects (dust, humidity): increase maintenance cadence; sealed bearings and coated fasteners help.
For the full list of real-world factors, review What Affects Jib Crane Load Capacity During Operation.
Maintenance and inspection: protect the margin you paid for
Wall-mount or not, capacity erodes when components degrade.
Daily:
- Hook and latch condition, chain/rope, limit functions, anchor visual check, smooth slew
Monthly:
- Brake gap, trolley wheel wear, tie-rod tension checks, anchor torque sampling
Annually:
- Certified static/dynamic load tests at working radius, structural fastener inspection, NDT on key welds/brackets
Keep a simple three-line log at the bay: date – checks done – anomalies. It catches issues before they cost capacity or cause downtime.
Fast selection checklist (wall-mounted)
- List max payload for next 3–5 years.
- Weigh rigging/end-effectors and subtract from nameplate.
- Define required radius at the work point(s).
- Choose shortest practical boom; consider articulated arms in tight cells.
- Verify building reactions with a structural engineer.
- Match hoist class and controls to cycles and precision needs.
- Post radius chart and rigging weights; train for vertical picks.
- Lock in inspection cadence and annual proof tests.
Putting it all together
The right jib crane load capacity for a wall-mounted model isn’t just a number on a brochure. It’s the intersection of payload + rigging + radius + building structure + duty. For many shops—stone, metal fab, assembly—wall-mounted jibs in the 500 kg–2 t range with 3–5 m reach hit the sweet spot, provided the wall/column is verified and the workflow keeps picks close. When reach grows or cycles get heavy, step up in capacity, shorten radius, or move to mast/freestanding designs.
If you’re refining your spec, compare product options, including the Articulated Jib Crane – Wall Mounted and more crane products—and keep your strategy anchored by:
- What Defines Jib Crane Load Capacity and Rated Limits
- What Affects Jib Crane Load Capacity During Operation
- How Jib Crane Load Capacity Impacts Equipment Selection
Dial these pieces in, and your wall-mounted jib becomes a compact, repeatable lifting solution that boosts throughput without compromising safety.
Please log in to leave a comment.