


Unplanned downtime rarely starts with a dramatic failure—it usually begins as small, almost invisible changes in jib crane components: a little extra brake slip, a stiffer rotation, a trolley that doesn’t quite roll like it used to. Catching these early signals is the difference between a quick fix and a costly outage. This guide shows you, part by part, how to spot wear and damage on a jib crane, the measurements that matter, and the actions to take right away.
For foundational context on what’s powered and how controls tie together, see Which Jib Crane Components Require Power or Controls?
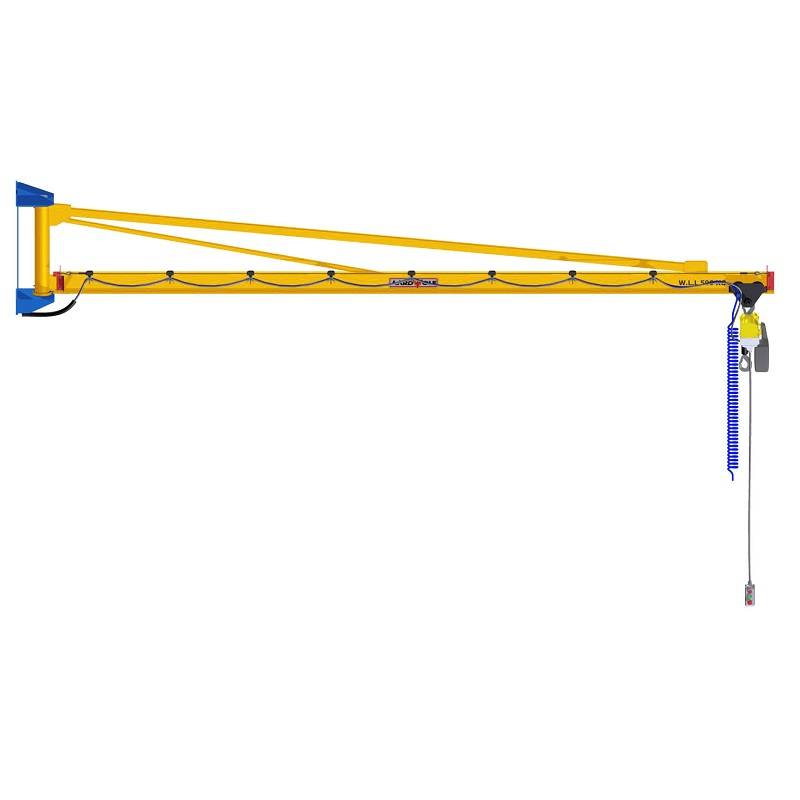
To understand design choices that boost uptime, read How Are Modern Jib Crane Components Designed for Efficiency?
Ready to formalize inspections? Follow What Steps Help Inspect Jib Crane Components Properly?
Table of Contents
ToggleAt-a-glance: What “wear” looks like on a jib crane
Early indicators tend to cluster into six buckets:
- Noise & feel: new grinding, squeal, chatter, heavier push force to rotate or travel
- Heat & smell: hot gearboxes, “burnt” odor from brakes or electrics
- Visual cues: corrosion, cracked paint, metal dust, elongation, bent hardware
- Performance drift: longer stopping distance, load drift, inconsistent speeds
- Electrical symptoms: nuisance trips, radio dropouts, intermittent pendant buttons
- Measurement changes: increased boom tip deflection, growing slewing backlash, chain pitch elongation
Document these in your maintenance log with date, location, and a quick severity rating (low/med/high). Trend lines tell the truth.
Structural members: boom, column/wall bracket, base & anchors
What to watch
- Boom (jib arm): new cracks at weld toes or end plates; paint blistering (hidden corrosion); permanent increase in tip deflection at the same load
- Column/wall bracket: hairline cracks in grout or wall around anchors; base plate rocking; tilted mast (out-of-plumb)
- Anchors & hardware: nut movement after torque, rusty streaks from fastener holes
Simple checks
- Deflection baseline: With rated test load, measure boom tip sag and record. A step-change vs. baseline merits NDT.
- Torque verification: Re-check anchor torque to the OEM pattern; inspect grout for voids/cracks.
- Plumb/level: Laser or spirit level on mast; any shift indicates foundation or fastener issues.
Immediate actions
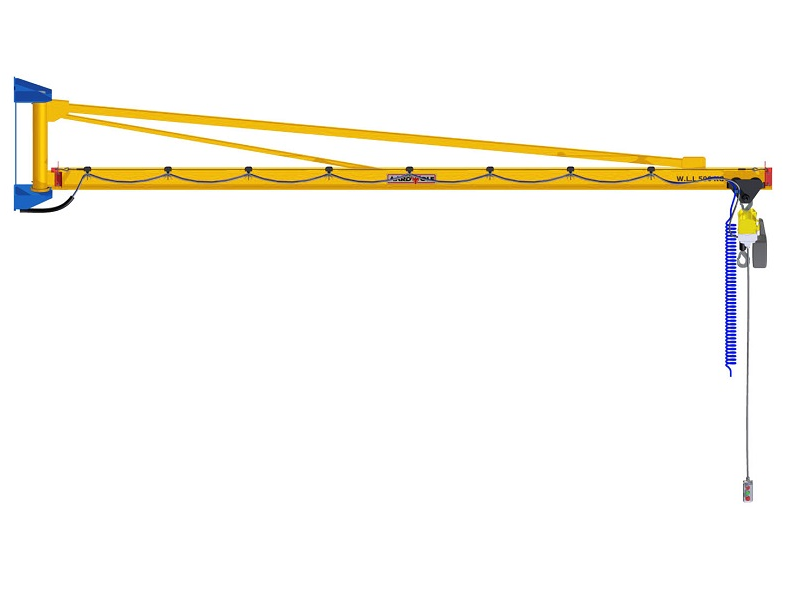
- Reduce service to lighter loads, tighten and re-torque anchors, plan dye-penetrant (PT) or magnetic particle (MT) testing on suspected welds. If space constraints drive side pulls, evaluate an articulated geometry (see Articulated Jib Crane – Wall Mounted).
Slewing (rotation) assembly: bearings, pins, stops
Wear signatures
- Jerky or heavy rotation; audible crunching
- Backlash growth (clunk at start/stop)
- Grease purging metallic flakes; dried or hardened grease at seals
- Missing/loose mechanical stops
How to measure
- Rotation force: Subjective but trend it—“two-hand push” becoming “body shove” is a flag.
- Backlash at hook: With light tangential force, measure angular play; record quarterly.
Fixes
- Purge and replenish with specified grease until clean appears; inspect seals.
- Tighten/replace hard stops; re-set electronic rotation limits if fitted.
- Consider VFD-powered slewing to reduce shock loads that accelerate wear.
Trolley system: wheels, bearings, beam/track
Wear signatures
- Rough or wandering travel, trolley “hunts” center
- Flat-spotted wheels, flaking or corrugated rail marks
- Uneven wheel flange wear; seized trolley bearings on manual sets
Checks
- Spin test: Wheels should free-roll without notchiness; any roughness means bearing replacement.
- Track survey: Look for dents, weld spatter, corrosion pits; check end stops are secure.
- Gauge/alignment: Verify wheel spacing against beam profile; shim to spec.
Fixes
- Clean track regularly; replace worn wheels/bearings; re-align trolley side plates.
- For height-restricted areas, use low-headroom trolleys to avoid chronic side loading.
Hoist assembly: motor/gear, brake, chain or wire rope, hook & latch
Wear signatures
- Slow or hesitant lifts, load drift at hold
- Hot hoist case, brake squeal, odor from linings
- Chain pitch elongation, tight links, peening; rope broken wires, kinks, birdcage
- Hook throat opening, twisted hook, sticky or bent latch
- Limit switches inconsistent
Quantify it
- Chain elongation: Measure over a set number of pitches; compare to OEM rejection criteria (commonly ~2–3% elongation).
- Rope: Count broken wires per lay; any kinks, crush, or birdcage = remove from service.
- Brake hold test: Lift rated load a few centimeters and hold—watch for creep.
Fixes
- Replace chain/rope at or before rejection limits; never “flip” a compromised rope.
- Clean/replace brake linings; set air gap.
- Replace deformed hooks; latch must close fully.
- Test/adjust upper & lower limit switches.
Power feed & controls: festoon/energy chain, slip rings, pendant/radio, panel
Wear signatures
- Pendant buttons sticky/unresponsive; intermittent radio range
- Cable jacket cracking, pulled strain reliefs, frayed conductors
- Slip ring brush dust buildup, arcing marks
- Nuisance trips, blown fuses, hot contactors
Checks
- Visual cable run: Look for pinch points, tight radii, missing saddles on festoon carriers.
- Pendant & radio: Test all motions; swap radio battery; check ID/channel and antenna integrity.
- Panel exam (qualified person): Inspect terminals for discoloration, loose lugs; IR scan if available.
Fixes
- Replace damaged sections of festoon or energy chain; re-route for generous bend radius.
- Service slip rings: clean dust, check brush length & spring tension.
- Replace worn pendants; keep spare radio batteries mounted on a charge station.
Safety devices: overload limiter, E-stop, travel/rotation limits, alarms
Wear signatures
- E-stop fails to latch or doesn’t cut motion power
- Overload trips too early/late (drifted calibration)
- Limits don’t actuate consistently or get bumped out of position
- Dead beacons, buzzers, faded labels
Checks
- Function test: Monthly E-stop and limits exercise; log pass/fail.
- Calibration: Verify overload with certified test weights or load cell.
- Labels: Ensure capacity/signage is visible and legible.
Fixes
- Replace unreliable switches; recalibrate overloads; renew signage and alarms.
End effectors: hooks, clamps, magnets, vacuum tools
Wear signatures
- Vacuum pads cracked, glazed, or dirty; slower vacuum build; short leak-down time
- Clamp pad wear, pivot slop, uneven grip marks
- Magnet face scored or rusted
- More frequent surface damage or drops
Checks
- Vacuum: Measure leak-down time without load; inspect hoses/valves/filters.
- Clamps: Replace pads before metal-to-load contact; check linkage play.
- Hook wear: Measure throat opening and twist against OEM limits.
Upgrades that help
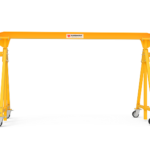
- Dedicated end effectors reduce damage and speed cycles (see material handling for principles). For panel/sheet work use a Vacuum lifter. For inter-bay moves and test lifts in maintenance areas, a Gantry Crane can be a versatile companion.
Telltale combinations that point to root cause
- Stiff slewing + anchor bolt movement: likely side-pull history or under-designed base/foundation.
- Trolley chatter + uneven wheel wear: track damage or misalignment—clean, repair, and re-gauge.
- Load drift + hot hoist housing: brake glazing/contamination; service brakes and verify load hold.
- Intermittent controls + visible cable wear: festoon/chain routing or pendant strain relief failure.
Red/Amber/Green: a quick severity guide
- Red (remove from service now): cracked structure, bent hook, rope with kinks/birdcage, chain beyond rejection, failed E-stop/overload, rotation seizure.
- Amber (plan repair ASAP): growing slewing backlash, brake chatter, trolley flat spots, cable jacket cracks, limit switch inconsistency.
- Green (monitor & lube): mild paint/rust at non-critical zones, faint bearing noise, light grease oxidation.
Maintenance cadence to keep wear predictable
- Daily (operator): visual walk-around; function checks (up/down, trolley, slew, limits, E-stop); hook & rigging check.
- Monthly (tech): track cleaning, trolley wheel/axle inspection, brake gap check, cable/festoon review, torque sample on anchors.
- Quarterly: slewing backlash measurement; gearbox oil sample (if applicable); pendant/radio inspection and battery swap routine.
- Annually: load test and certification; NDT on critical welds; overload calibration; insulation resistance test; refresh baseline measurements (deflection, backlash, chain elongation).
Keep logs. Uptime improves when you can see trends.
When “wear” means “time to change the configuration”
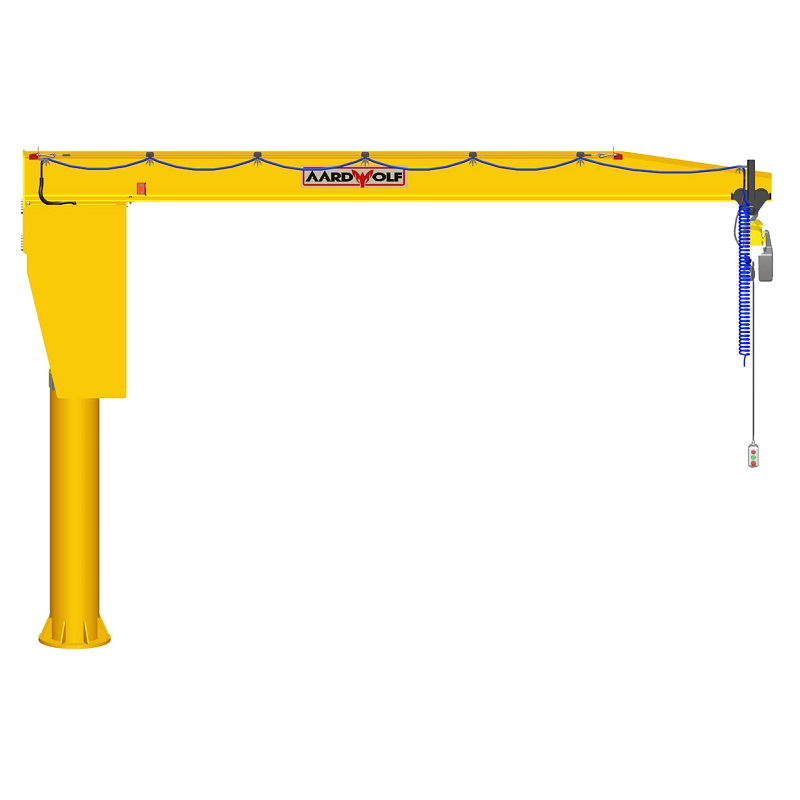
If obstacles or tight bays are forcing side pulls, or operators constantly “nudge” loads around corners, you’re fighting geometry—not just wear. Switching to an articulated design can remove the bad behaviors that destroy components. Explore Articulated Jib Crane – Wall Mounted and more crane products to align the system with the work.
Troubleshooting table (copy/paste-ready)
| Symptom | Most likely components | First checks | Fast action |
|---|---|---|---|
| Jerky rotation | Slewing bearings, stops | Grease state, backlash | Purge/re-lube; inspect stops; schedule bearing check |
| Rough trolley travel | Wheels, bearings, track | Wheel spin, track debris | Clean track; replace bearings; re-gauge trolley |
| Load creeps down | Hoist brake | Brake gap, lining condition | Clean/replace linings; set gap; re-test hold |
| Pendant intermittency | Pendant, cable, terminals | Jacket cracks, loose lugs | Replace pendant/cable; tighten lugs |
| Radio dropouts | Radio, batteries, interference | Battery health, antenna, channel | Replace battery; re-pair; reposition antenna |
| Hook won’t latch | Latch spring/bend | Visual and latch action | Replace latch; inspect hook throat/twist |
Final word: small clues, big savings
Staying ahead of wear on jib crane components is about disciplined observation plus a few hard numbers: chain elongation, boom deflection, slewing backlash, anchor torque, brake hold. Put those on a schedule, and you’ll turn “surprises” into planned micro-stoppages that protect throughput and safety.
When you’re ready to go deeper into power, efficiency, and inspection methods, bookmark:
- Which Jib Crane Components Require Power or Controls?
- How Are Modern Jib Crane Components Designed for Efficiency?
- What Steps Help Inspect Jib Crane Components Properly?
And for configurations that match your space, loads, and duty cycles, explore more crane products.

Please log in to leave a comment.