


When you’re planning lifts, building standard work, or buying new equipment, few specs matter more than jib crane load capacity. Get it right and your line runs smoother, safer, and faster. Get it wrong and you’ll fight creeping wear, surprise stoppages, and elevated risk. This guide explains—plainly and practically—what defines jib crane load capacity, how manufacturers set rated limits, what affects real-world capacity on your floor, and the testing/inspection steps that keep every lift inside the safe envelope.
New to the hardware stack? Start with What Are the Key Jib Crane Components in Every Setup?
For day-to-day execution, read Why Jib Crane Load Capacity Matters in Daily Operations
For safety fundamentals, see What Jib Crane Load Capacity Means for Safe Lifting
Table of Contents
Toggle1) The terms you need to use consistently
- Rated Load (often aligned with SWL/WLL): The manufacturer-approved limit for routine lifting under normal conditions. This is the everyday number your team must follow.
- Maximum Capacity: A theoretical upper boundary under ideal conditions. It’s an engineering reference, not an operating target.
- Safety Factor: Built into the rated load to absorb variations—manufacturing tolerances, dynamic effects, and minor misalignments.
- Effective Capacity at Hook: What’s truly available once you subtract rigging + end effector weight and consider radius (distance from mast/pivot).
Rule of thumb: In daily operations, treat rated load as the hard boundary. “Max capacity” is for design review, not production use.
2) What defines jib crane load capacity?
Manufacturers determine jib crane load capacity through a combination of structural mechanics, component ratings, and validation tests. The key inputs:
A. Structural design & section properties
- Boom (jib arm): Moment of inertia, section modulus, and allowable stress govern bending and deflection under load. Longer booms have lower effective capacity at the same cross-section because bending moments scale with radius.
- Mast/column or wall bracket: Transfers load and torque into the foundation or building steel. Anchor design, base plate thickness, grout, and concrete strength limit how much torque the system can take.
- Slewing assembly: Pin/bush or slewing ring ratings, bearing spacing, and stop design constrain the allowable rotational loads.
B. Component ratings
- Hoist: Motor/gearbox, brake holding torque, chain or wire rope fatigue limits, and duty class all set vertical-lift bounds.
- Trolley: Wheel profile, bearing load ratings, and flange geometry cap lateral/vertical forces.
- Power & controls: Overload devices, limit switches, and E-stops must reliably protect the structure when misused.
C. Allowable deflection & stability limits
Excess boom deflection creates sway and control problems. Manufacturers limit deflection to maintain control quality and keep stresses below fatigue thresholds. Stability is confirmed at defined radii so the crane remains predictable through the full swing arc.
D. Environmental & duty assumptions
Capacity is validated for a specified duty cycle and environment. Heat, moisture, abrasive dust, or chemicals may require coatings, sealed bearings, or even derating to preserve safety margins.
3) Rated Loads vs. Maximum Capacity—how they diverge
Think of rated load as the usable number and maximum capacity as a boundary marker. Why they differ:
- Rated load embeds safety factors and assumes real-world use—start/stop dynamics, operator variability, and normal ambient conditions.
- Maximum capacity is modeled for the best case (ideal mounting, geometry, environment), and it’s primarily for engineering reference.
Daily takeaway: Post the rated load on the crane and at the work cell. Build procedures and training around it.
4) The five real-world modifiers that change effective capacity
Even when the nameplate is clear, true, usable capacity at the hook moves with how you apply the crane:
- Radius and boom position
Capacity falls as radius increases. If your load chart includes radius bands, your team must verify where the hook is before committing to a lift. - Rigging and end effectors
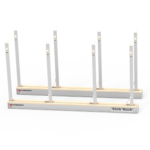
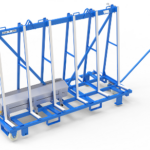
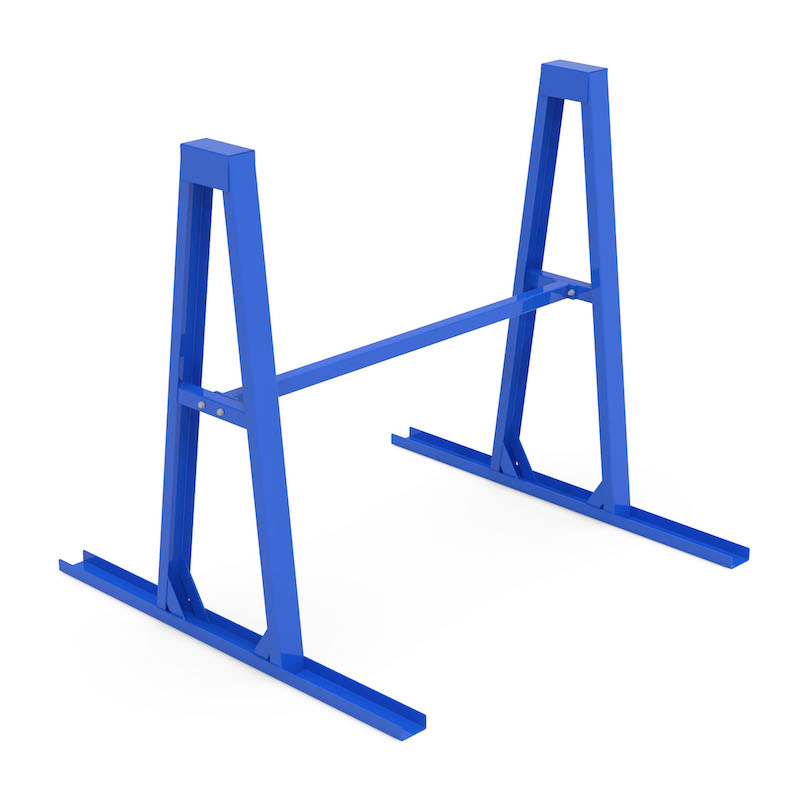
Slings, shackles, clamps, magnets, or vacuum tools all consume capacity. Standardize “rigging kits” with known weights so operators can subtract quickly.- For slab and panel handling, purpose-built devices protect finishes and keep the center of gravity stable: a dedicated Transport frame is a smart add-on.
- See more examples of smart lifting equipment that reduce rigging time and risk.
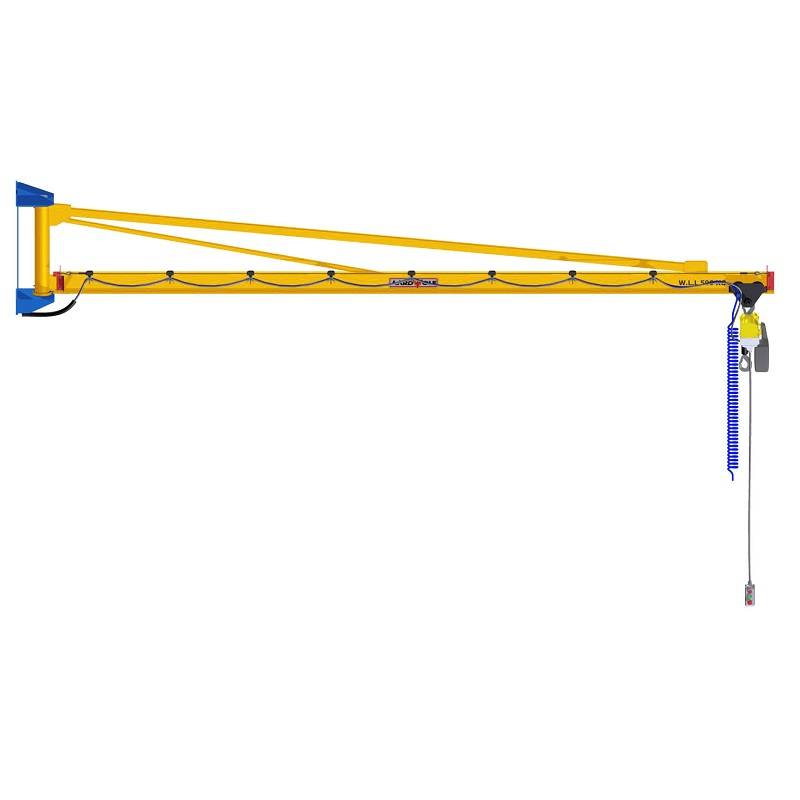
- Mounting style & geometry
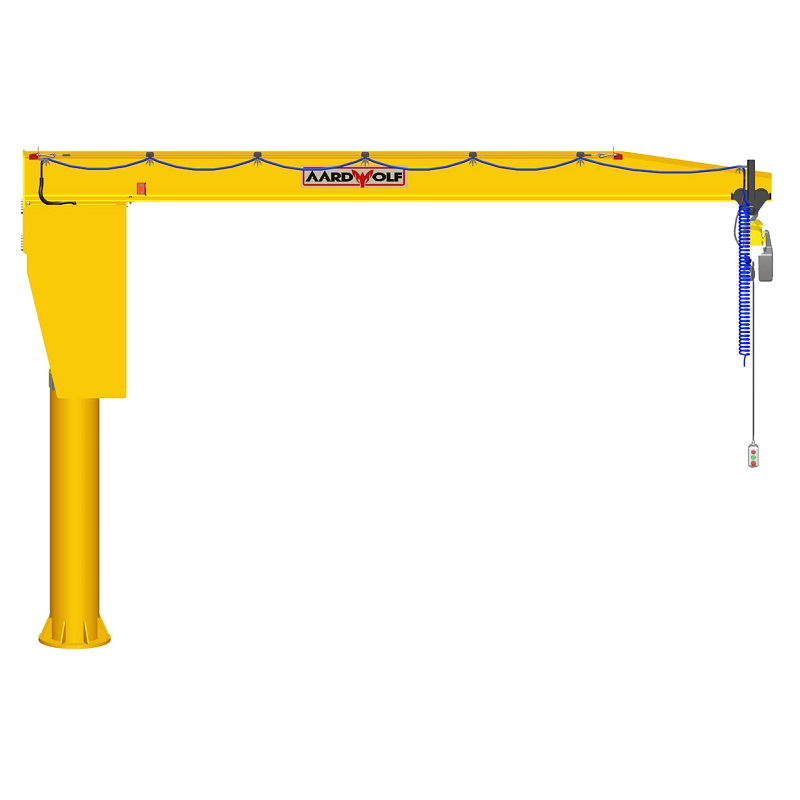
- Freestanding units offer 360° rotation and often higher capacities.
- Wall/column-mounted systems save floor space but typically have lower rated loads and limited rotation.
- Articulated models excel in tight cells—clean vertical lifts around obstacles reduce side-pull risk. Explore the Articulated Jib Crane – Wall Mounted.
- Environment
Heat, moisture, or corrosives attack bearings, brakes, and steel. Plan for coatings, seals, and inspection cadence—or apply a conservative derate. - Duty cycle
High cycles per shift build heat and fatigue. Match hoist duty class and gear ratings to the job; underspecifying silently erodes usable capacity.
5) From spec to floor: a capacity calculation you can trust
Effective capacity at hook = Rated load − (rigging + end-effector weight)
Then confirm the radius (load chart) and rotation/boom limits. If you cross into a higher-radius band, capacity drops—do not guess.
Pro tip: Laminate a one-page “Quick Calc” with common rigging sets (pre-weighed), radius bands, and a simple checklist. Put it at eye level in the cell.
6) Verification and testing that protect your rating
A. Routine checks
- Daily/shift: Operator walkaround, controls/limits/E-stop function, quick lift/hold test at typical radius.
- Monthly: Trolley wheels and track, hoist brake gap, chain/rope condition, festoon/energy chain routing, anchor torque sample.
B. Periodic & annual tests
- Static & dynamic load tests (often 110–125% of rated load) validate structure, brakes, and controls.
- Stability & rotation checks ensure smooth slewing and consistent backlash.
- Documentation: Keep inspection logs, load-test certificates, and any repair records organized for audits and insurance.
7) Recognizing overload and near-overload—before it gets expensive
- Hoist drift at hold → brake glazing/contamination or overload
- Hot gearbox/hoist casing after routine lifts → duty mismatch or load too high
- Jerky slewing or higher push force → bearing wear or side-pull history
- Trolley chatter, flat-spotted wheels → track damage, misalignment, or chronic high loads
- Frequent overload trips → incorrect calculations or changing rigging kits
At the first sign, stop and tag the crane, investigate, and correct root causes—don’t “nurse” it through the shift.
8) Make capacity a daily control, not a static label
Build a lightweight, repeatable routine:
- Post the rated load & radius chart right at the cell.
- Weigh or calculate every load—including rigging.
- Use the right attachment for the material (vacuum for panels, clamps for blocks, frames for transport).
- Lift vertically; avoid side pulls. Use rotation stops.
- Trend baselines quarterly: boom tip deflection at rated load, slewing backlash, chain elongation, anchor torque.
- Train & refresh operators—especially on radius effects and attachment weight.
9) Capacity by application: matching the tool to the task
- Receiving/dispatch: Higher-radius picks benefit from powered trolleys and clear load paths; a transport frame stabilizes sheet and slab moves.
- Assembly cells: Articulated wall-mounted jibs with VFD hoists deliver precise placements in tight zones.
- Fabrication/finishing: Dedicated end effectors and low-headroom trolleys shorten hook-to-secure time and keep loads well within limits.
10) FAQs
Q: Can we use “maximum capacity” for short, one-off lifts?
A: No. Stay at or under rated load—that’s the capacity validated for real-world dynamics and safety margins.
Q: Do small end effectors matter in the math?
A: Yes. Every kilogram of rigging/attachment weight reduces available capacity. Standardize kits to remove guesswork.
Q: Our jib “feels” weaker over time. What changed?
A: Likely drift in one of three places: increased average radius, heavier rigging/attachments, or component wear (brakes/bearings/chain). Re-baseline and service.
11) The fast adoption checklist (copy/paste)
- Treat rated load as the hard limit; ignore “max capacity” in production.
- Subtract rigging + end effector from the rating every time.
- Verify radius against the posted chart before each lift.
- Use application-specific tooling (e.g., transport frames, vacuum lifters, clamps).
- Enforce vertical lifts and respect rotation stops.
- Log tests/inspections; trend deflection, backlash, chain elongation.
- Refresh operator training quarterly.
The bottom line
Jib crane load capacity isn’t just a number on a plate—it’s the core control for safety, speed, uptime, and compliance. It’s defined by structure, component ratings, allowable deflection/stability, and the realities of your environment and duty cycle. When you convert that spec into everyday behaviors—accurate load math, the right attachments, disciplined testing—you get fewer surprises and more throughput.
Explore component fundamentals in What Are the Key Jib Crane Components in Every Setup?, operational best practices in Why Jib Crane Load Capacity Matters in Daily Operations, and safety essentials in What Jib Crane Load Capacity Means for Safe Lifting.
For layouts that demand agile, obstacle-friendly motion, consider an Articulated Jib Crane – Wall Mounted, and browse more crane products to match capacity, reach, and duty class to your work.
.gif)

Please log in to leave a comment.