


Installing a jib crane is not just about mounting a lifting device—it’s about executing a project that balances safety, structural integrity, and operational readiness. For contractors, rigging crews, and facility managers, having a clear jib crane installation checklist ensures that no critical step is overlooked. Whether you’re setting up a freestanding jib crane, a wall-mounted jib crane, or an advanced articulating jib crane, proper planning and execution are key to a successful outcome.
This article provides a comprehensive, experience-based jib crane installation checklist, reflecting the highest standards of expertise, authoritativeness, and trustworthiness.
👉 First, verify if your location is suitable: Jib Crane Installation Requirements for Your Facility
Table of Contents
ToggleWhy Contractors Need a Jib Crane Installation Checklist
Even the most experienced teams can make costly mistakes when installing cranes. A detailed checklist:
- Prevents delays and rework
- Reduces safety risks
- Ensures code compliance
- Speeds up inspection and certification
Proper installation also extends the crane’s lifecycle and improves ROI.
📌 New to this? Don’t miss Jib Crane: How to Properly Install – Step-by-Step Guide
Pre-Installation Checklist: Planning & Site Preparation
1. Confirm Crane Type and Site Suitability
| Crane Type | Best For |
|---|---|
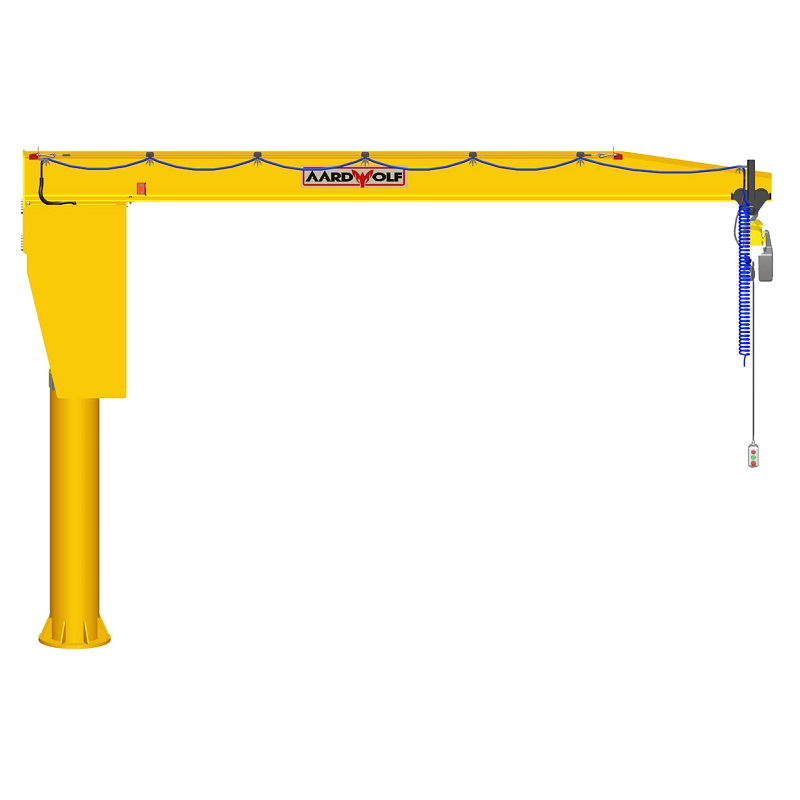
| Freestanding jib crane | Heavy-duty lifting, 360° rotation |
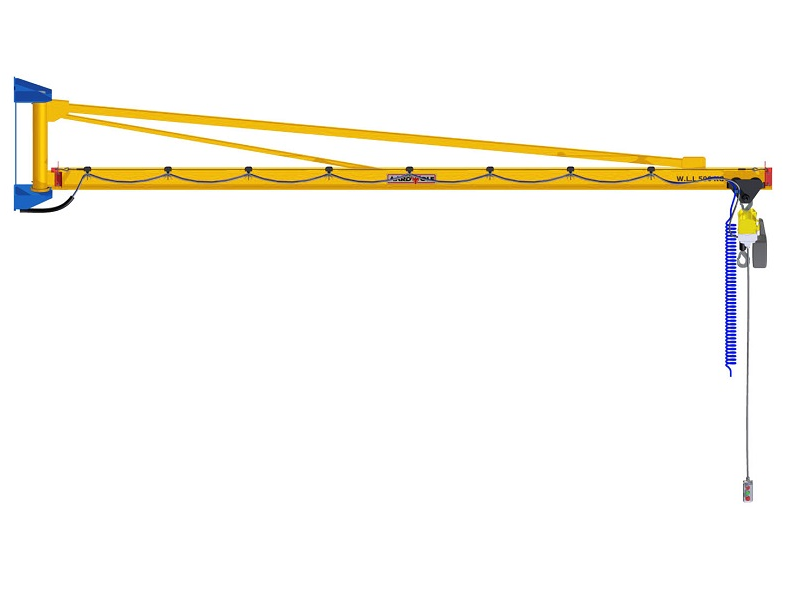
| Wall-mounted jib crane | Space-limited areas, workstation lifting |
| Mast-type jib crane | No foundation, ceiling-supported environments |
| Mast mounted jib crane | Floor–ceiling support with extended load capacity |
| Articulating jib crane | Navigating tight spaces and obstacles |
✅ Verify that the crane type matches floor strength, ceiling height, and available space.
2. Engineering Assessment (if needed)
- Review floor load capacity
- Check wall/column strength for mounting
- Approve ceiling support for mast-type cranes
Foundation & Anchoring Checklist (Freestanding Cranes)
For freestanding jib cranes, installation begins from the ground up:
1. Concrete Base Prep
- Minimum 3000 psi concrete
- Reinforced with rebar mesh or cage
- Proper curing (7+ days)
2. Anchor Bolt Setup
- Bolt pattern matches crane base plate
- Bolts aligned using a jig or template
- Holes clean and debris-free before grouting
💰 Wondering about costs? Check Jib Crane Installation Cost: What You Need to Know
Mounting and Assembly Checklist
1. Vertical Mast or Column
- Use crane or forklift to position
- Level using a spirit level
- Tighten bolts to specified torque
2. Jib Arm or Boom
- Securely fasten to mast or wall bracket
- Check for alignment and rotation clearance
- Confirm arm swing matches design spec
3. Wall Brackets (for wall-mounted models)
- Use through-bolts with backup plates
- Ensure bracket is flush with wall
- Torque per manufacturer recommendations
Hoist & Electrical Checklist
1. Hoist Compatibility
- Hoist rated for crane’s load capacity
- Trolley matches beam size and profile
2. Wiring and Controls
- Power supplied through overhead festoon or conductor bar
- Pendant or wireless control installed
- Emergency stop switch functional
Load Testing & Commissioning Checklist
Load testing is mandatory for safety certification and compliance.
1. Static Load Test
- Lift a test load at 100% capacity
- Hold without drift or vibration for 10 minutes
2. Dynamic Load Test
- Raise, lower, and rotate test load
- Monitor hoist brake response
- Ensure smooth trolley and boom operation
3. Final Inspection
- All bolts torqued and marked
- Limit switches functioning
- Lubrication points serviced
🧪 Full process breakdown: Jib Crane Installation Process: From Prep to Testing
Safety & Documentation Checklist
1. Safety Labels and Signage
- Load rating plate on boom
- Rotational warnings near boom path
2. Operator Manual
- Provided at workstation
- Includes inspection frequency and maintenance schedule
3. Compliance Documents
- Test results filed
- Signed checklist by installer
- Photos for records
Post-Installation Maintenance Plan
| Task Frequency | Task |
|---|---|
| Weekly | Check hoist rope, boom swing |
| Monthly | Inspect bolts and power cables |
| Yearly | Re-certify load test and brakes |
Document all maintenance for audit compliance.
Common Mistakes In Jib Crane Installation Contractors Should Avoid
| Mistake | Impact |
|---|---|
| Skipping foundation curing time | Crane instability and early failure |
| Using insufficient anchor bolts | Structural failure risk |
| Poor alignment of boom | Trolley and hoist misoperation |
| Skipping load tests | Non-compliance with safety regulations |
| Ignoring clearances or obstructions | Potential damage and injury |
✅ Avoid all of the above: Jib Crane Installation Tips: Avoid Common Mistakes
Sample Jib Crane Installation Checklist for Contractors
| Task | Status |
|---|---|
| Site Survey Completed | ✅ |
| Engineering Review Approved | ✅ |
| Base Foundation Installed and Cured | ✅ |
| Anchor Bolts Installed to Spec | ✅ |
| Mast Mounted and Aligned | ✅ |
| Boom Installed and Level | ✅ |
| Hoist/Trolley Installed and Tested | ✅ |
| Electrical and Controls Connected | ✅ |
| Load Testing Completed | ✅ |
| Documentation and Safety Labels Posted | ✅ |
Final Thoughts: Precision, Safety & Performance
Whether you’re an independent installer or part of a rigging crew, following a proven jib crane installation checklist helps you deliver safe, efficient, and compliant crane systems every time.
A properly installed jib crane enhances workflow, reduces manual strain, and supports higher productivity across industries. Stay accountable, document every step, and always align with manufacturer specs and safety codes.
👉 Ready to get started? Browse for more jib crane products built for performance and reliability.
Recommended Reading:
- Jib Crane Installation Requirements for Your Facility
- Jib Crane Installation Cost: What You Need to Know
- Jib Crane Installation Process: From Prep to Testing
- Jib Crane: How to Properly Install – Step-by-Step Guide
Install smart. Work safe. Deliver value.
Please log in to leave a comment.