

Choosing lifting equipment isn’t just about brand, budget, or lead time—it starts (and often ends) with an accurate understanding of jib crane load capacity. Get the capacity right and everything else—attachments, foundations, electrics, duty class, inspection cadence—falls into place. Miss it, and you can expect premature wear, slow cycles, surprise downtime, and elevated risk.
This guide walks you through how jib crane load capacity shapes real-world equipment selection—from the crane style and boom geometry you specify to the rigging, lifters, and transport accessories you deploy around it. You’ll also find practical links to deeper explainers and product options to help you build a safe, efficient, and future-proof setup.
Want the fundamentals first? Read What Defines Jib Crane Load Capacity and Rated Limits, a plain-English primer on rated load, safety factors, and real-world modifiers.
Table of Contents
ToggleWhy capacity is the first (and best) filter for equipment decisions
A jib crane’s nameplate rating isn’t just a label—it’s the anchor for every other decision:
- Safety envelope: Operating within the jib crane load capacity is the simplest way to prevent structural overstress, hoist brake slippage, and uncontrolled sway.
- Equipment lifecycle: Capacity alignment reduces fatigue on gears, chains/ropes, trolley wheels, slewing bearings, and anchors—extending service intervals and asset life.
- Throughput: Staying comfortably under the limit enables faster, smoother lifts with less settling time and rework.
- Compliance: Rated capacity simplifies audits and documentation against standards and site policies.
For day-to-day practices that keep lifts inside the green zone, see Why Jib Crane Load Capacity Matters in Daily Operations.
Step 1: Translate loads into a capacity specification
Before you compare cranes or buy attachments, lock down your load profile:
- Heaviest load + rigging weight
Calculate the true hook load: payload plus slings, shackles, spreader bars, lifters, magnets, or vacuum heads. Every kilogram of rigging reduces available capacity at the hook. - Load geometry & radius
Capacity drops as radius increases. If your common picks happen far from the mast, you’ll need either a higher-rated crane or a different geometry to keep within limits. Post and train from the load chart. - Duty & frequency
High cycle counts build heat and fatigue in the hoist and slewing assembly. Duty class must match reality; underspecifying effectively “shrinks” usable capacity over time. - Environment
Heat, moisture, dust, and corrosives all accelerate wear—sometimes requiring coatings, seals, stainless hardware, or conservative derates.
For safety fundamentals and testing cadence, check What Jib Crane Load Capacity Means for Safe Lifting.
Step 2: Let capacity steer your crane type and boom geometry
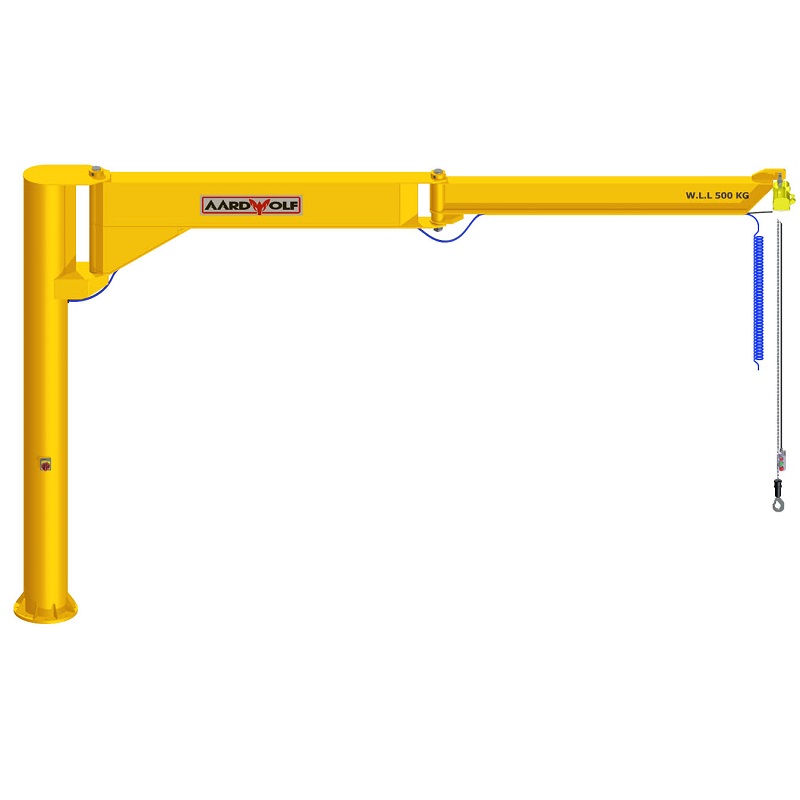
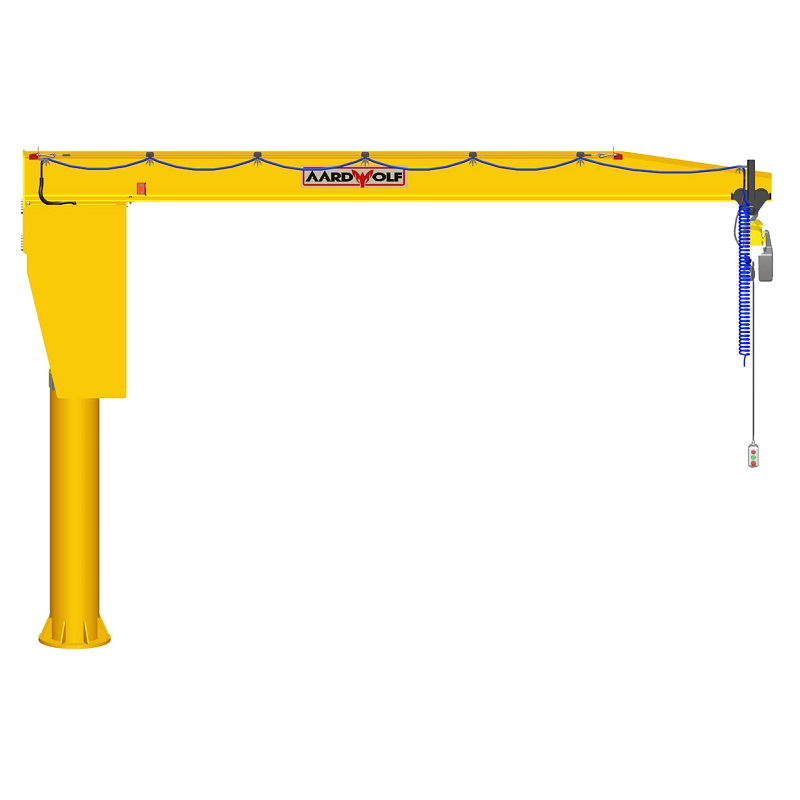
Freestanding pillar jib
- Best for: Higher capacities, 360° coverage, flexible positioning.
- Capacity impact: Stronger foundations and mast sections sustain higher bending moments at longer radii.
- When to choose: Heavy or variable loads, wide working envelope, frequent use.
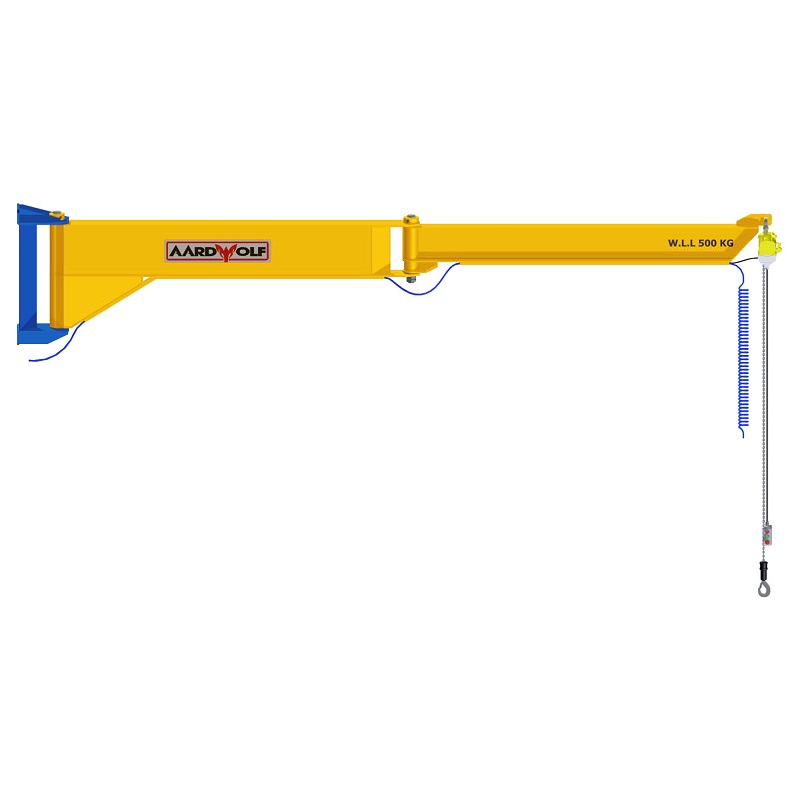
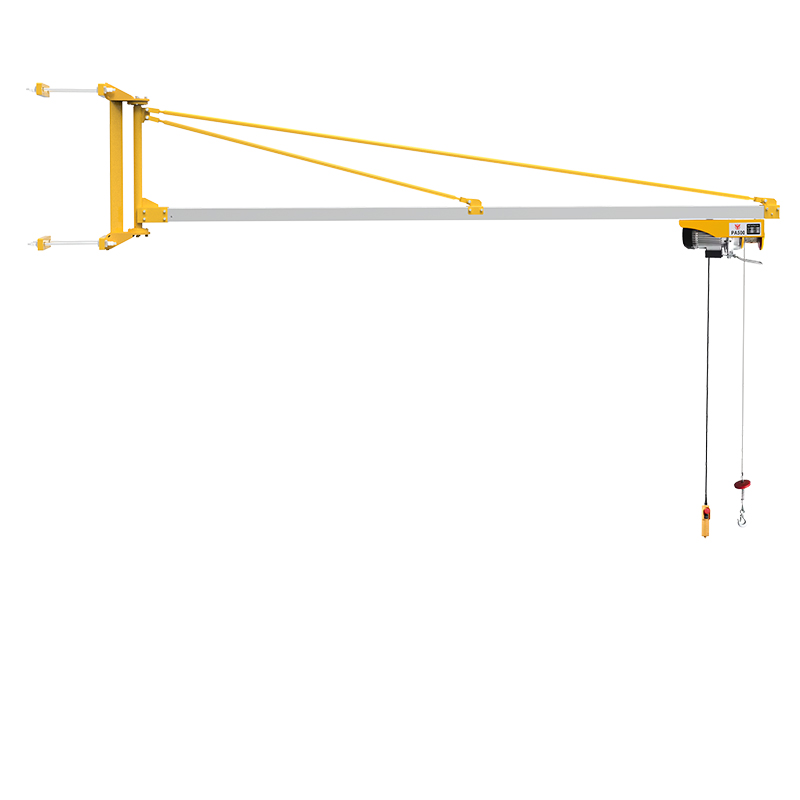
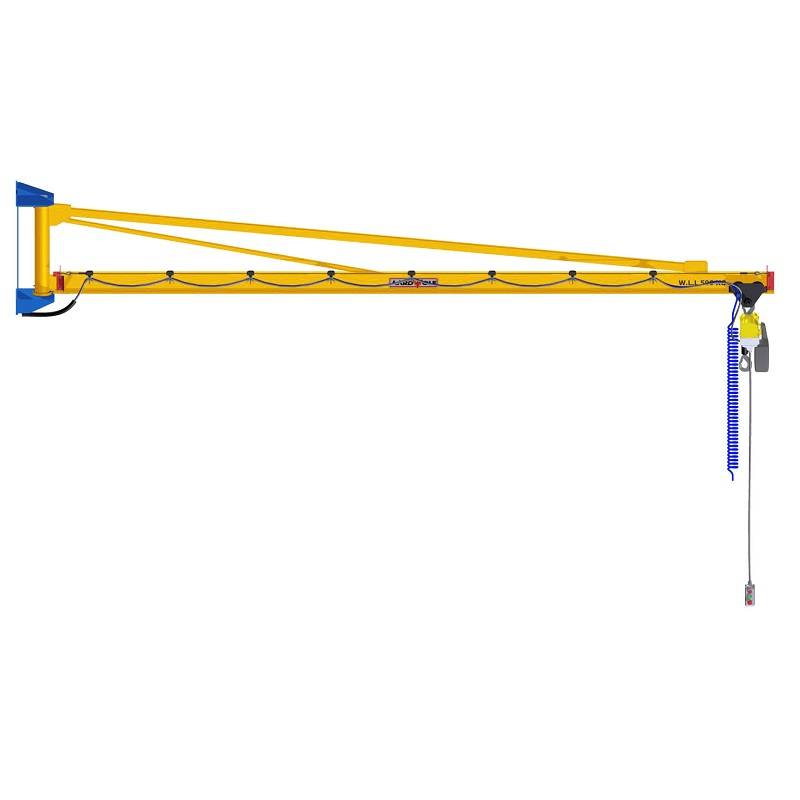
Wall/column-mounted jib
- Best for: Space-constrained cells with known, moderate loads.
- Capacity impact: Lower rated loads than comparable freestanding units; rotation usually 180–200°.
- When to choose: Tight aisles, repeatable picks, lighter attachments.
Articulating jib
- Best for: Tight layouts with obstacles, where the hook must stay vertical around corners or under fixtures.
- Capacity impact: Superb load control at moderate ratings (not typically the heaviest lifter).
- Explore: Articulated Jib Crane – Wall Mounted for agile placement and reduced side-pull risk.
Rule of thumb: If your working radius or duty pushes the rated limit, step up the capacity class or select a geometry that naturally shortens radius on approach.
Step 3: Match the hoist and trolley to the capacity reality
- Hoist rating ≥ crane rating (after subtracting rigging).
- Speed control: Two-speed or VFD hoists improve placement under heavier loads (less sway, less brake wear).
- Duty class: Frequent lifts near the top of your capacity range require higher duty components.
- Trolley wheels & track: Confirm wheel load at your typical radius and verify track straightness and hardness match—especially on long booms.
Step 4: Choose attachments that protect capacity and product
End effectors can either preserve capacity or quietly consume it. Choose purpose-built tools that minimize rigging mass and keep the center of gravity predictable:
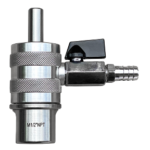
- Panel and slab handling: A dedicated stone lifting clamp secures edges without bulky spreaders, conserving capacity and reducing cycle time.
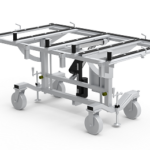
- In-plant logistics: Pair with best-practice stone transportation methods—stable CG means fewer corrections and faster placements.
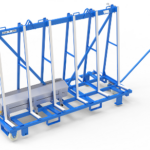
- Transport and staging: Use carriers/frames sized for the payload so rigging weight stays predictable and the hook remains centered.
Capacity tip: Standardize rigging “kits” with pre-weighed totals and label them. Operators then subtract a single, known figure from the nameplate before checking the load chart.
Step 5: Foundation, anchors, and structure—where capacity becomes real
Even a correctly rated crane can be limited by what it’s bolted to.
- Concrete thickness & strength must match manufacturer specs for the rated torque at the anchor group.
- Base plates & gussets should be sized for the maximum bending moment at your longest routine radius.
- Wall/column mounts require a structural survey—capacity is only as strong as the building steel behind it.
Poor foundations don’t just reduce capacity; they also introduce slewing stiffness and alignment issues that slow operators down.
Step 6: Controls and safety devices that scale with capacity
- Overload protection: Calibrated load limiters prevent accidental exceedance.
- Limit switches: Reliable upper/lower hoist limits and rotation stops protect structural members.
- Control mode: Pendant vs. radio—radio keeps operators out of the load path, crucial as load mass rises.
- Visibility & ergonomics: Heavier loads demand smoother, clearer control—invest in variable speed and logical button layouts.
Step 7: Inspection and testing scaled to your capacity usage
Operating regularly near the rated limit? Increase scrutiny.
- Daily/shift: Visual walkaround, function tests (hoist, trolley, slew), quick check at typical working radius.
- Monthly: Brake gap, trolley wheels/flanges, anchor torque sampling, festoon/energy chain.
- Annual: Certified static/dynamic load tests (often 110–125% of rated), rotation backlash, NDT on critical welds.
Tightening this cadence as loads approach the top of your range keeps the crane “honest” and your uptime high.
Common selection pitfalls (and simple fixes)
- Forgetting radius effects
- Fix: Post a simplified load chart at eye level; train to verify radius before committing.
- Ignoring rigging weight
- Fix: Standardize and label rigging kits with total mass; subtract before checking the chart.
- Underspecifying duty
- Fix: Match hoist/crane duty class to cycles/shift; ask vendors for thermal and brake life at your actual usage.
- Mounting without structural verification
- Fix: Survey concrete and building steel; get stamped drawings where required.
- Attachments chosen for “one job”
- Fix: Select end effectors that handle your full load mix efficiently; lighter, purpose-built tools protect capacity and product.
Capacity-driven selection scenarios
Scenario A: Mixed pallets and heavy fixtures (2.5–3.0 t max)
- Crane: Freestanding pillar jib with 360° rotation and VFD hoist.
- Why: Keeps capacity at longer radii and speeds precise placement.
- Attachments: Quick-change hooks + dedicated clamps for fixture lifts; light rigging kits to protect margin.
Scenario B: Tight assembly cell, moderate loads (≤1 t) with obstacles
- Crane: Articulated wall-mounted jib for close, vertical picks.
- Why: Maintains capacity through complex paths while avoiding side pulls.
- Attachments: Slim, low-mass end effectors to maximize available capacity.
Scenario C: Stone shop—bundles and slabs (1–1.5 t) all day
- Crane: Freestanding or wall-mounted based on footprint; ensure duty class matches continuous use.
- Attachments: Horizontal stone clamp plus stable transport methods; train to keep CG centered and minimize radius during moves.
Decision checklist (copy/paste)
- Identify heaviest hook load = payload + rigging + end effector.
- Map typical radius and check against the load chart.
- Match duty class to cycles/shift (don’t underspec).
- Select crane type (freestanding, wall-mounted, articulated) that preserves capacity at your radius.
- Choose hoist/trolley with VFD or two-speed for heavier loads and precise placement.
- Pick low-mass attachments that stabilize CG (e.g., stone lifting clamp for slabs).
- Verify foundation/anchors or building steel for rated torque and moment.
- Implement testing schedule scaled to your usage (daily/monthly/annual).
- Train operators; post the load chart and standardized rigging weights at the cell.
FAQs
Is it okay to touch maximum capacity for a one-off lift?
No. Maximum capacity is an engineering boundary. Operate at or under the rated load after subtracting rigging.
Do small lifters really affect capacity?
Yes—every kilogram counts, especially at longer radii. Standardize and label rigging to remove guesswork.
Our crane “feels” slower lately—capacity issue?
Possibly. Increased average radius, heavier attachments, or component wear can all reduce effective capacity. Re-baseline loads, inspect brakes/bearings, and verify anchors.
The bottom line
Jib crane load capacity isn’t just a procurement number—it’s the cornerstone of safe, efficient equipment selection. Let it drive your choices on crane type and geometry, hoist/trolley package, attachments, mounts, and testing cadence. When capacity leads, you get smoother lifts, longer component life, faster cycles, and simpler compliance.
Deepen your planning with:
- What Defines Jib Crane Load Capacity and Rated Limits
- Why Jib Crane Load Capacity Matters in Daily Operations
- What Jib Crane Load Capacity Means for Safe Lifting
And explore products matched to your workload and environment:
- stone lifting clamp for efficient slab handling
- Best-practice stone transportation to protect product and pace
- Agile placement with the Articulated Jib Crane – Wall Mounted
- Browse more crane products to match capacity, reach, and duty class to your operation
When you let capacity lead, every other choice gets easier—and safer.

Please log in to leave a comment.